Thursday, July 28, 2016

Halloween 2016

I am literally starting on this now in hopes that by some miracle, I can get them done in time. Also, we may have multiple events to attend and I am toying with having a few different outfits to chose from (its not like they can not be used for other events too), but not sure on that yet. Right now things are just in the "idea stage".


Possible Costumes for Me
  1. Mrs. Lovett - I have been wanting to do this for a long time. I had a simple version of it years ago, but really would like to do a better one. Not sure how close to the movie version I will go. I may be a bit more historically authentic. Maybe.
  2. Hobbit Costume - Another, I have been wanting to do for quite a while.
  3. Something from Harry Potter?? My husband wants to be Hagrid for Halloween so I am toying with the idea of making something from HP as well. Only things I can think of that I wouldn't mind from that would be a version of Mrs. Weasley or  maybe the Gray Lady. Or maybe Bellatrix LeStrange.

Possible Costumes for Husband
  1. Hagrid. He wants to be Hagrid.

Possible Costumes for Elaina
  1. Viking from How to Train your Dragon.
  2. Lynkel -- the famale version of the video game character.

Possible Costumes for Stephen
  1. No input as of yet, but I am sure it will have a million pieces.

Thursday, May 12, 2016

Regency Tea


On my sewing list are outfits for a Regency Tea at the end of June. I of course, have absolutely nothing made for myself so this will be a from inside-out sort of thing. I had toyed with making my long corset for this, but really do not feel like messing with it right now, not when I have other things I would rather be sewing, so I will go ahead and make a bodiced petticoat for this. I also need to decide on the style of the dress that I would like for the event.

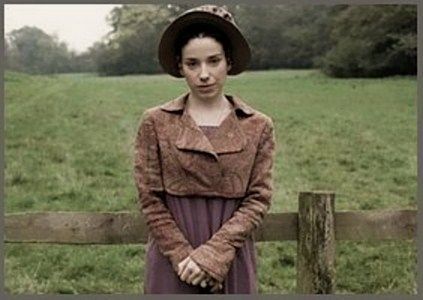
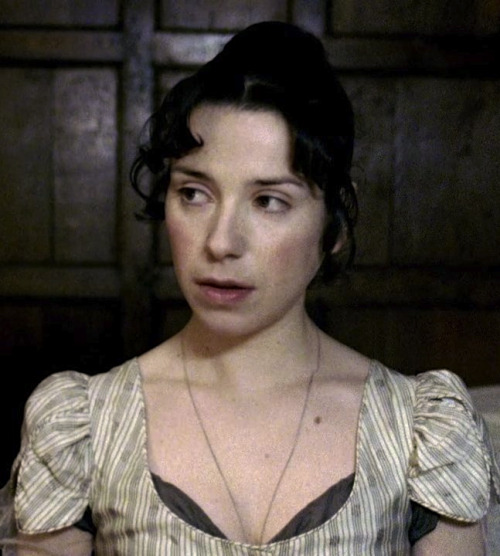
Pride and Prejudice was my favorite Jane Austen book and then film (the Colin Firth version of course) for the longest time. But as I have gotten older, I find I am really drawn to Persuasion. To me the characters are much more authentic, and I find I really relate to Anne Elliot. Perhaps because he family and friends take her for granted. Anyway, I really think I will be doing something Anne inspired. I love how she has such unassuming colors in the film (the Rupert Penry-Jones one of course), so I am leaning towards going that way. Not certain how appropriate it is for a tea...


18th Century Corset Update.

It is finally done. And I hate it. That is all. Will post pics at some point.

Thursday, April 28, 2016

18th Century Linen Shift and Silk Corset Update.

Rule #1--do not sew when you are sick. I screwed up the shift and wasted 2 yards of linen.
Rule #2--do not try to fit yourself in a corset, assuming it will be okay because it fit before. It fit about a year and 10lbs ago. So now it is finally done and the back is all wrong. Do I pull all the binding off and re-do the back? Toss it in a corner? Start over? Who knows... Very irritated to say the least.

Saturday, April 23, 2016

18th Century Linen Shift

Linen was on sale at JoAnn's, and they actually had one that was not a blend. With the sale and my 20% off coupon, I was able to squeeze 2 yards (which I hope us enough) out of my budget. If I can just feel a bit better I will try and get this cut out today.

Wednesday, April 20, 2016

Venetian Courtesan

 As usual, I have been MIA. I have been working, but not on anything for myself so I have not updated here. I have a HUGE LIST of things I need to sew for events, so I need to get busy and stopped messing around. Hopefully blogging will keep me on track? Hasn't worked in the past but I am determined to give it a try.

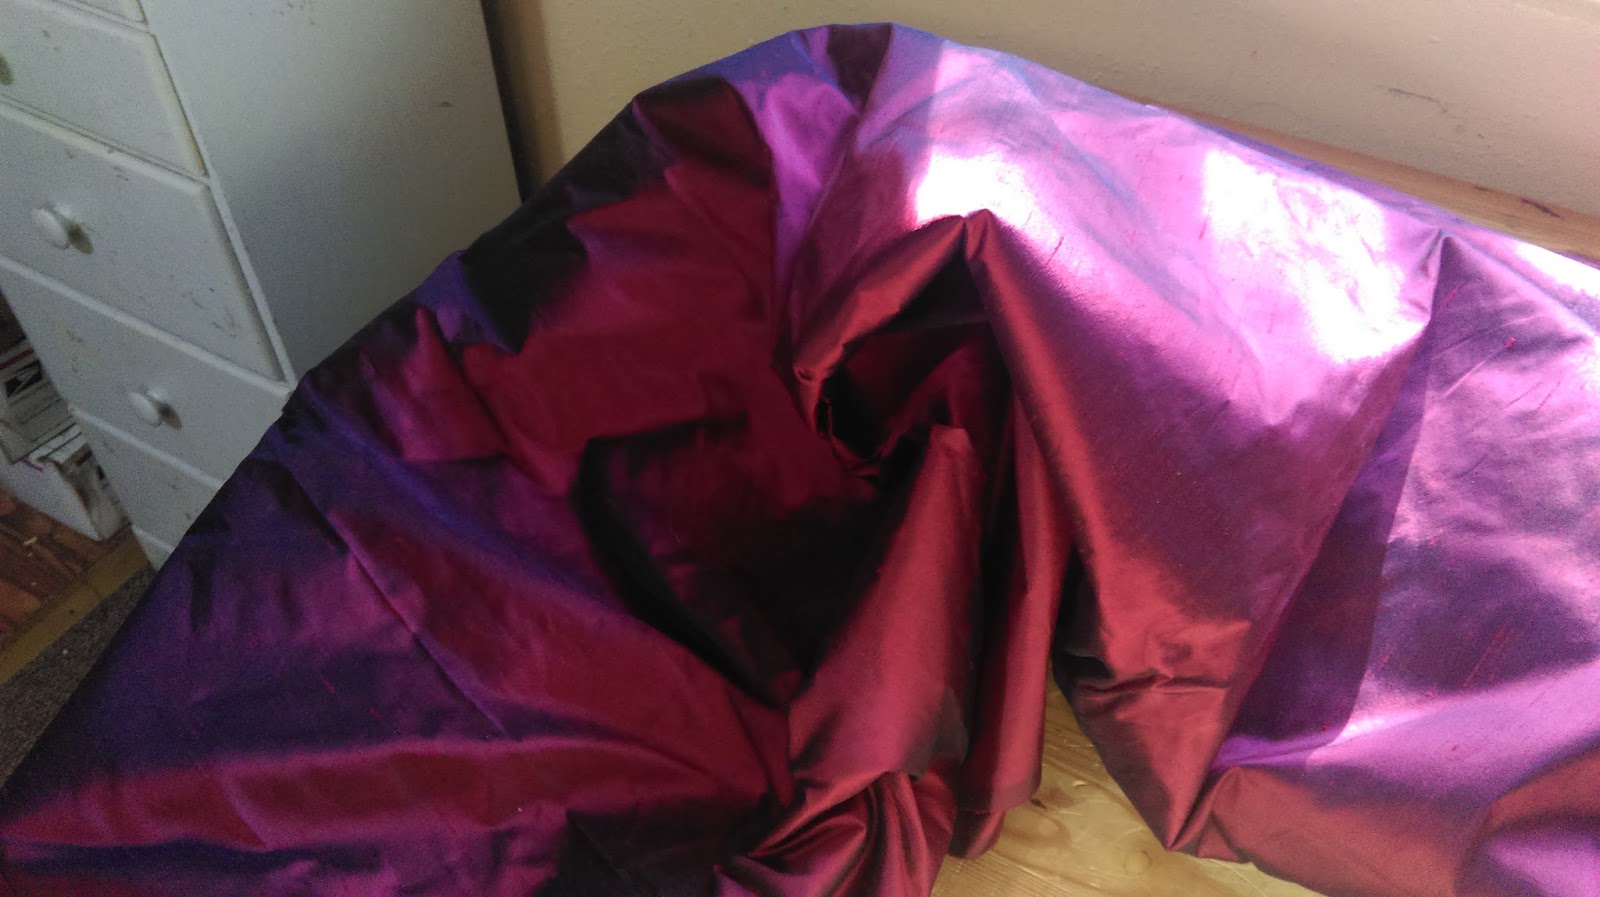
One of the things I have been wanting to make, for years, is a Venetian Courtesan. I had put it on the back burner because I had never decided how I wanted to go about it and was not motivated enough to figure it all out. Then I got my hands on this GORGEOUS fabric! 100% Silk Taffeta in the strangest gold, green, purple-shot colors you have seen. It changes constantly, and in person has a strange bronze quality to it. When I saw this a light went off in my head as to what I wanted to make. I don't want to say until it is finished, but this gown will do double duty as not only renaissance fare, but as a twist on a popular cosplay design. It makes me very excited.


I only have 6.5 yards of this which really isn't enough to do what I am going to do. Thankfully I am very short (5') so that saves me some, but I am going to have to be very careful with the design I pick. I will have to put some other fabrics with it but as of yet have not decided on what. I am ordering the fabric for the camica Friday while I think about this.

Sunday, October 11, 2015

1880's Bustle Gown.

I have been sewing away (between work and shuttling children) on an 1880s bustle dress that was supposed to be for an event today. Well, the fates did not cooperate so I did not get to go, but I guess that gives me time to tweak a few things I wasn't happy with but was prepared to overlook due to time constraints. So after this post I will be spending the rest of my day in the sewing room but thought I would get up the first group of pictures/construction notes on this project.

I had not intended on making an 1880s bustle dress for this event, I tend to like the more natural form gowns of the mid 1870s because I am very short and fluffy, so I do not need more "pouf." But when the lovely Mara gave me her Imperial Bustle, I figured I would just go with that period that way I did not have to make one.

I spent a lot of time on Pinterest and found a few elements I liked that I thought would work for my frame and lack of height. I do not have them saved so I will have to post the inspiration photos later. Anyway, besides the bustle and corset, I was also gifted some TV patterns and this lovely deep red (garnet) silk. So I decided to use that for my dress as well as to repurpose a lovely plaid silk dress I have been holding onto for years. Both fabrics are much lovelier than these photos depict.


I did not have an appropriate pattern for this era and had lent out my pattern book so I had nothing on hand. I thought about just completely drafting something but because of time, and the fact I just REALLY didn't want to, decided to take one of the patterns I was given and just alter it. A lot. I used the TV mid 1870s Dinner Bodice pattern as my base, cutting the neckline much higher and shorteniing the back peplum pieces, as well as adding width to the peplum from the waistline down to allow it to fit over the robust 1880s bustle.


For the skirts I knew I wanted to incorporate the plaid, but I did not have very much of it. I also knew because of my height and size I cannto handle a lot of drapes and ruffles. I found a fashion plate that had stripes of plaid going verticle on its underskirt so decided this would be a good idea. I took apart the plaid dress and measuring the length I needed for the strips cut out as many as was possible.

The source of my plaid fabric.


I did not have enough fabric to space these evenly all the way around the underskirt, so I placed the first 5, starting with center front, a set space apart, then I placed the remaining ones where needed, pleating the fabric up in between to make them look closer together than they were. The left side of the dress has one more stripe than the right as I planned for the drape to go all the way to the hem on that side.


Here is the finished underskirt pined to the petticoat for placement. It has a yoke like the petticoat to help eliminate bulk at the waist, but I wanted to drape it first and decide how I was doing the overskirts before putting it all together. I also decided that before I could be sure how I wanted to drape the overskirt that I needed to see how the bodice was going to work, so I started on that next. 


I love how the 1880s bodices are so fitted and go up to the neck, unfortunately I just cannot pull them off. I am too heavy and I do not have much of a neck anymore as I have two bulging discs at the base which has made it even shorter. I decided that if I went with the faux vest look I could leave it open up at the neck even if this isn't something that would have been done. To keep this from being to Christmassy, I decided to turn this into an 1880s Gryffindor inspired costume. I had been wanting to do a mid 1870s Professor McGonnagal, so now it will just be a different decade.

I had a lovely golden yellow shot silk left over from my corset (yes the one that is still not finished) so decdided to use that as the vest. It is perfect for the color scheme. I used a heavy twill I had for interlining, and as you can see it sewed up very nicely.


Saturday, September 26, 2015

Simplicity 1777 Sew Along

Melissa and I and are doing a Retro Sew-along! For our first design we chose Simplicity 1777. Here is a picture of the pattern and the material I will be using. If anyone wants to join, let us know. The more the merrier!

1880's Chemise Finished.

Yes, I actually did finish this, almost *cough* a year later. I just used a simple white flat lace I already had to create the neckline casing for adjustment. It is a synthetic, so obviously not historically accurate, but it was what I had on hand. I would like to make another one of these from a light weight linen, so when I do I will get better trim.

Chemise being worn with gifted corset.


The simple ribbons through the top allows me to adjust the neckline as needed.

The gifted Victorian Corset & Bustle.

For my Bustle Dress, which is needed October 11th, I need an entire set of underpinnings. I never make myself anything which is why I always miss events, well that and illnesses, whether mine or the kids, so it was a great help when Mara offered me a corset she has made as a mock-up, and her old bustle! This has saved me so much time! I really do not think I would have had time with work to get all of this done, particuarly when these two things are so time consuming. The bustle works perfectly, and though the corset is a bit small, I will just allow it to have a bit more room in the back than it should until I can loose a few pounds.

I had been saving this cute little trim for when I made my corset, but now that I have something that will work for the time being (obviously I should have one made for my shape but its not going to happen for a while), I decided to go ahead and put it on the corset I was gifted. It took me a few hours to do the top and the bottom, but I really like how it looks with the lovely silk.

Here is the corset with its original trim. It was constructed from a muted fleshy-peach silk, with flat-steal boning. It is very well made, she did a wonderul job on it.


I pulled off the other trim and sewed this one on by hand. The busk comes up high enough that I really do not need the ribbon at the top--I don't think. If it turns out I do, I will just tack one in place. Because this trim is cream and the binding on the corset is white, I took a simple flat cream lace I had and bound the bottom edge as well, so it did not look so stark (not shown).


Here is a close-up of the corset over my chemise. I realy do love this trim, At one time I had enough to trim the top and bottom, which was my intent, but I cannot figure out what happened to the rest.


Side view of the corset, worn over my chemise, with the bustle Mara gave me. 

A little bit more on the 18th Century Corset.


finally transfered these pics so I could uploads them, but admittedly not too much progress has happened. I have yet to make up my mind on what I am doing for the binding so I have seriously been stalling. I did however, get both linings basted in, and one half's grommet holes done. Not quite as neat as I would like but at least they are done. 

 
I had this nice piece of vntage cotton--lovely and soft--that I thought would make a nice lining.


I took the corset, and making certain the it was flat across the top and middle, pinned it to the lining. It is important that there is no wrinkles in the cotton when you do this. You want it perfectly flat all the way down to the waistline; from waist down I did it was done differently.


This is not the best picture to illustrate this, but I will try and explain. There is "give" in the shape of the corset from the waistline down, as the pieces move and spread to go over the hips, to make this work our correctly, once i had to top part pinned smooth, I flattened out the bottom pieces as much as I could to give that spread, then cut all the way around--from waistline on one side, around the bottom, to the waistline on the other side. One it was cut out, starting from the center back I started to pin the tabs, slicing straight up the middle between them so there was enough fabric to so spead out. The most difficult piece is where the side front/front meet, but I used this same process, moving and flattening the pieces as I went. You have to pin each piece really thoroughly or they will slip.


Once it was all pinned, I started to baste the lining to the silk by hand. I thought about doing it by machine but felt I had much better control if I did it this way instead. Now the top and bottom (including tabs) are basted on WITHOUT turning under or finishing the edges, this is because of the binding. At center front and center back the edges were turned under. I gave myself a good 1/2" inch for this, It not only made it easier to pin, it gaves it more heft for when I sewed in the grommet holes.


I trimmed all the excess away. I was sirprised at how neat it turned out to be.

It's that time again...

Yes, it is that time again; when I actually FINALLY get off my fanny and post to the blog, and plan out what may--or may not--get done for Halloween. After several custom costume transactions that turned out to be more of a pain then they were worth, I am taking a serious step back from it and concentrating on actually sewing some things for myself and my family. I have an event coming up a Bustle Era event coming up on October 11th, and then Halloween looming in front of me, so I need to get moving on the costumes for both. So I need to complete the following outfits:

1:Bustle Dress--including petticoat, chemise (I get to cheat on corset and Bustle because the lovely Mara gave me those), drawers (still not sure on these), Hat and ruticle. Hey no need to panic I still have 13 days??

2:Assasin Costume--My daughter saw a cool cape pattern from Simplicity and wants that for her costume. What the rest of the thing will entail we have yet to decide.

3:Link Costume--Can't remember which one my son said but I know it did not involve chainmail. Going to try and use more historic shapes and fabrics so he can use this for other things as well.

4:Anime Costume--Don't know which one this is. Making it for my son's friend.

5:Husband's Halloween Costume--this could end up being either Hagrid or the Jolly Green Giant.

6:Simplicity 1777--Almost forgot about this one! I am supposed to be doing a sew along for this dress with Melissa. Need to get going....

Sunday, November 2, 2014

1880s Chemise

Just doubled fabric and cut out basic shape from muslin I had on hand. We will see how it turns out.

18th and 19th Century Corsets.

Though I am working on my 18th century stuff, an event came up for some 19th century bustle dress goodness, so now I need to get going on that as well. I don't have much time, and no money, to put out on the Victorian ensemble, so am having to go with whatever is in my ever dwindling stash.

I ironed down the edges on all the pieces of my 18th century corset and stitched them down. I saw this technique used on a couple blogs and thought I would try it, as I am hoping it will neaten up the finished product. Mt next step is to whip stitch the pieces together.

For the Victorian corset I did not want to waste time drafting, so I found a corset pattern with pieces close to the shape I wanted, then did some serious tweaking. I lengthened it, the reshaped the pieces over the hips and some at the tops. I used some beautiful fuschia Moire taffeta for the corset and cotton duck for the interface. Was just getting ready to start on it when I discovered I have no more corset busks! NOoooooo! Will have to hurry and order one tomorrow. Guess I will start on the chemise or something.

Thursday, October 30, 2014

Kali's costume for The Gathering of Rebels.

I wanted to take pics of this as I worked on it, but I was so rushed with everything I really didn't have time. I used a Simplicity pattern which I redrafted to make the pieces a bit more historically accurate, though I didn't go overboard with this. It is not something I intend on keeping, or figure I will even get much money back on so I didn't complicate things too much.


I used a white/gray print cotton I have had in my stash for YEARS and then a gray eyelet I found and Goodwill for $3.00 for 5 yards (not period correct I know, but looks nice and was cheap). I used the cotton for the jacket, and then the eyelet for the skirt and trim.

Except for the outer sleeve ruffle shown here, I used the eyelet. I decided for sake of time and my sanity--and because I have always wanted to try it--to pink all the edges instead of hemming it. It looks okay. I know the fraying is natural, even with the pinking, and you see real examples of 18th Century gowns with the same thing happening, but I am not sure I am crazy about it. Sort of makes it feel 'unfinished' to me so I don't think it is something I will do again unless I want that as a specific design element.


I did not want to have to mess with a corset for her so I boned the front of the bodice with the ever handy weed-trimmer line. Worked great! I added a small modesty panel at the front and the hand-cast eyelets (not my best work on these I can tell you) are hidden by the ruffles. Only thing I can say is I wish it would have been a bit tighter so she had that 'lift'. When I first fit it I was afraid it would end up being too tight, but I think she lost some weight before she actually was able to wear it. I was going to take it in but decided it was just too much work for something she was only going to wear the one time.

I forgot to charge my camera, which is actually an old cellphone that I use, so I did not get pictures on the day. A few people at the event took them so I am waiting for them to get posted up to Facebook. There should be quite a few full length pics from that. What I have right now is the one of them sitting down, and then the one Kali's dad took right before they were going to change. After 6 hours they were a bit of a mess as you can tell (I have NO IDEA what the heck is going on with the front of the kilt there lol). I hope to get more photos up soon.


Friday, October 17, 2014

The TARTAN has arrived...

Well after some mix ups, I got the fabric I ordered from Amazon. There was only 2 tartan prints that were in the old fashion so those were what I chose. They are a lot brighter than what I wanted, especially the blue and yellow, which was supposed to be blue and olive. I am going to over-dye it to darken it, but I don't have time to do it before the 26th. Aside form that though, I really like the fabric. It is a nice weight and does look and even feel like wool.

18th Century Corsets

I ended up taking the 18th Century Butterick Corset Pattern and redrafted it. I cut the back lower, added 6"s to the waist reshaped the side piece a bit and changed the boning pattern. I cut it out of a beautiful piece of Goldenrod colored silk (though it doesn't show right in the photos) and did the channels in blue thread to mimic the inspiration images. For interfacing I used some cotton canvas. I will line it in white muslin.


For my daughters little corset I modeled it after an original example I found on Pinterest. I will have to try and look it up again. I cut hers out of a small piece of purple silk I had and am doing it with 2 layers of muslin. I don't want it tight or uncomfortable so it will also be very lightly boned and nothing like the original in that regard.


Friday, October 10, 2014

The Gathering of the Rebels progress...

Today I drafted and cut out my corset and my chemise. I also cut out my petticoat. I cut out Elaina's Carraco Jacket and skirt, as well as her little corset and then sleeves for her chemise. She has a Regency chemise she outgrew, so with some fiddling, I think I can get it to work, then I can just add the new sleeves. Tomorrow I will cut out Kalysta's dress.

And the winner is....Yellow!

I need to make different 18th Century stays to go with my outfit for The Gathering of Rebels. I looked at patterns and read reviews and just decided to draft my own. I am not sure yet if they are going to be fully, or half-boned stays, as I could do either with the particular design. All I know it that I will have them lace both in the back and the front and they MUST be in yellow. I have seen so many pictures of yellow corsets from the 18th Century, and was inspired by these two. What I have on hand is a bit more goldenrod, but it still should work.